
What You’ll Build + Learn
In this challenge, children explore how bridge design, span length, and structural testing affect strength.
Quick Facts
- Best for: Elementary Builders
- Time: 45-90 minutes
- Skills: Engineering, structural design, gravity, compression, tension, problem solving, STEM thinking, and teamwork
- Core Idea: A long bridge span requires smart interlocking design to fight gravity
- Materials: LEGO bricks, flat chairs or tables, weights, a scale, a measuring stick, and toy vehicles
Can your LEGO bridge survive the ultimate strength test? In this STEM challenge, kids build a bridge across an open gap and discover how engineers use testing, failure, and redesign to create stronger structures.
Disclosure: This post may include affiliate links. If you buy through a link, Read Build Discover may earn a small commission at no extra cost to you.
Read: Books that Support the Build
Before building, I like to start with books that help kids see bridges as real engineering solutions. Bridges are not just structures; they connect people, places, communities, and ideas.
- Book: Bridges: A Nonfiction Picture Book About Bridges Around the World by Marc Majewski.
- Book: Twenty-One Elephants and Still Standing by April Jones Prince.
- Book: Science Comics: Bridges: Engineering Masterpieces by Dan Zettwoch. Ideal for older elementary readers who crave highly detailed, graphic explanations. It uses an engaging comic style to explain how engineers defeat the dangerous forces trying to bring bridges crashing down.
Want more? Explore the complete guide to The 10 Best Bridge Books for Kids.
Pre-Build Discussion: Core Engineering Concepts
Before you start building, spend a few minutes looking at photos of real bridges together. Ask your builders:
- Which bridge looks the strongest?
- Which one looks the longest?
- How do you think it stays up?
- What might happen if too much weight is added?
There are many kinds of bridges, but they all solve the same problem: how do you safely cross an open gap?
Here are the four main bridge designs engineers use:
- The Beam Bridge: The simplest design. A flat roadway supported at each end.
- The Arch Bridge: Uses a curved shape to transfer weight into the ground.
- The Truss Bridge: Built with connected triangles that make the structure stronger and resist bending.
- The Suspension Bridge: A bridge where the road hangs from giant, strong ropes or cables. Tall towers hold up the heavy cables so the bridge can cross massive rivers.
Engineering Words You’ll Use
Introduce these terms to help the kids think like civil engineers:
- Span: The distance a bridge crosses.
- Load: The weight placed on the bridge.
- Dead Load: The weight of the bridge itself.
- Live Load: The weight the bridge carries, such as a toy vehicle or testing weights.
Build: The Bridge Span Challenge
The goal of this activity is to help children discover how structural design affects a bridge’s strength. Rather than telling what works best, encourage students to test their own ideas and learn from the results. Just like real engineers, they’ll build a prototype, evaluate its performance, and improve it through redesign.
Before testing begins, establish a few simple design requirements for every participant or team:
- Span the gap. The bridge must rest securely on both supports without additional assistance.
- Create a functional roadway. The bridge deck should be wide enough for a standard toy car or truck to cross.
- Build with strong connections. Encourage children to overlap bricks and stagger seams instead of stacking vertical joints directly on top of one another.
- Reinforce long roadways. If builders use plates to extend the bridge deck, suggest strengthening the joints by overlapping them with standard bricks.
These guidelines create a common design challenge while still allowing plenty of room for creativity and experimentation.
Setting Up the Test
A successful bridge challenge starts with a safe, consistent testing environment. Before children begin building, prepare three testing stations with bridge spans of 8 inches, 12 inches, and 16 inches.
Choose sturdy, level supports that won’t shift during testing. Heavy tables are ideal, especially for the longer spans. Smaller chairs also work well for younger builders because they reduce the distance a bridge falls if it collapses.
Choosing Testing Weights
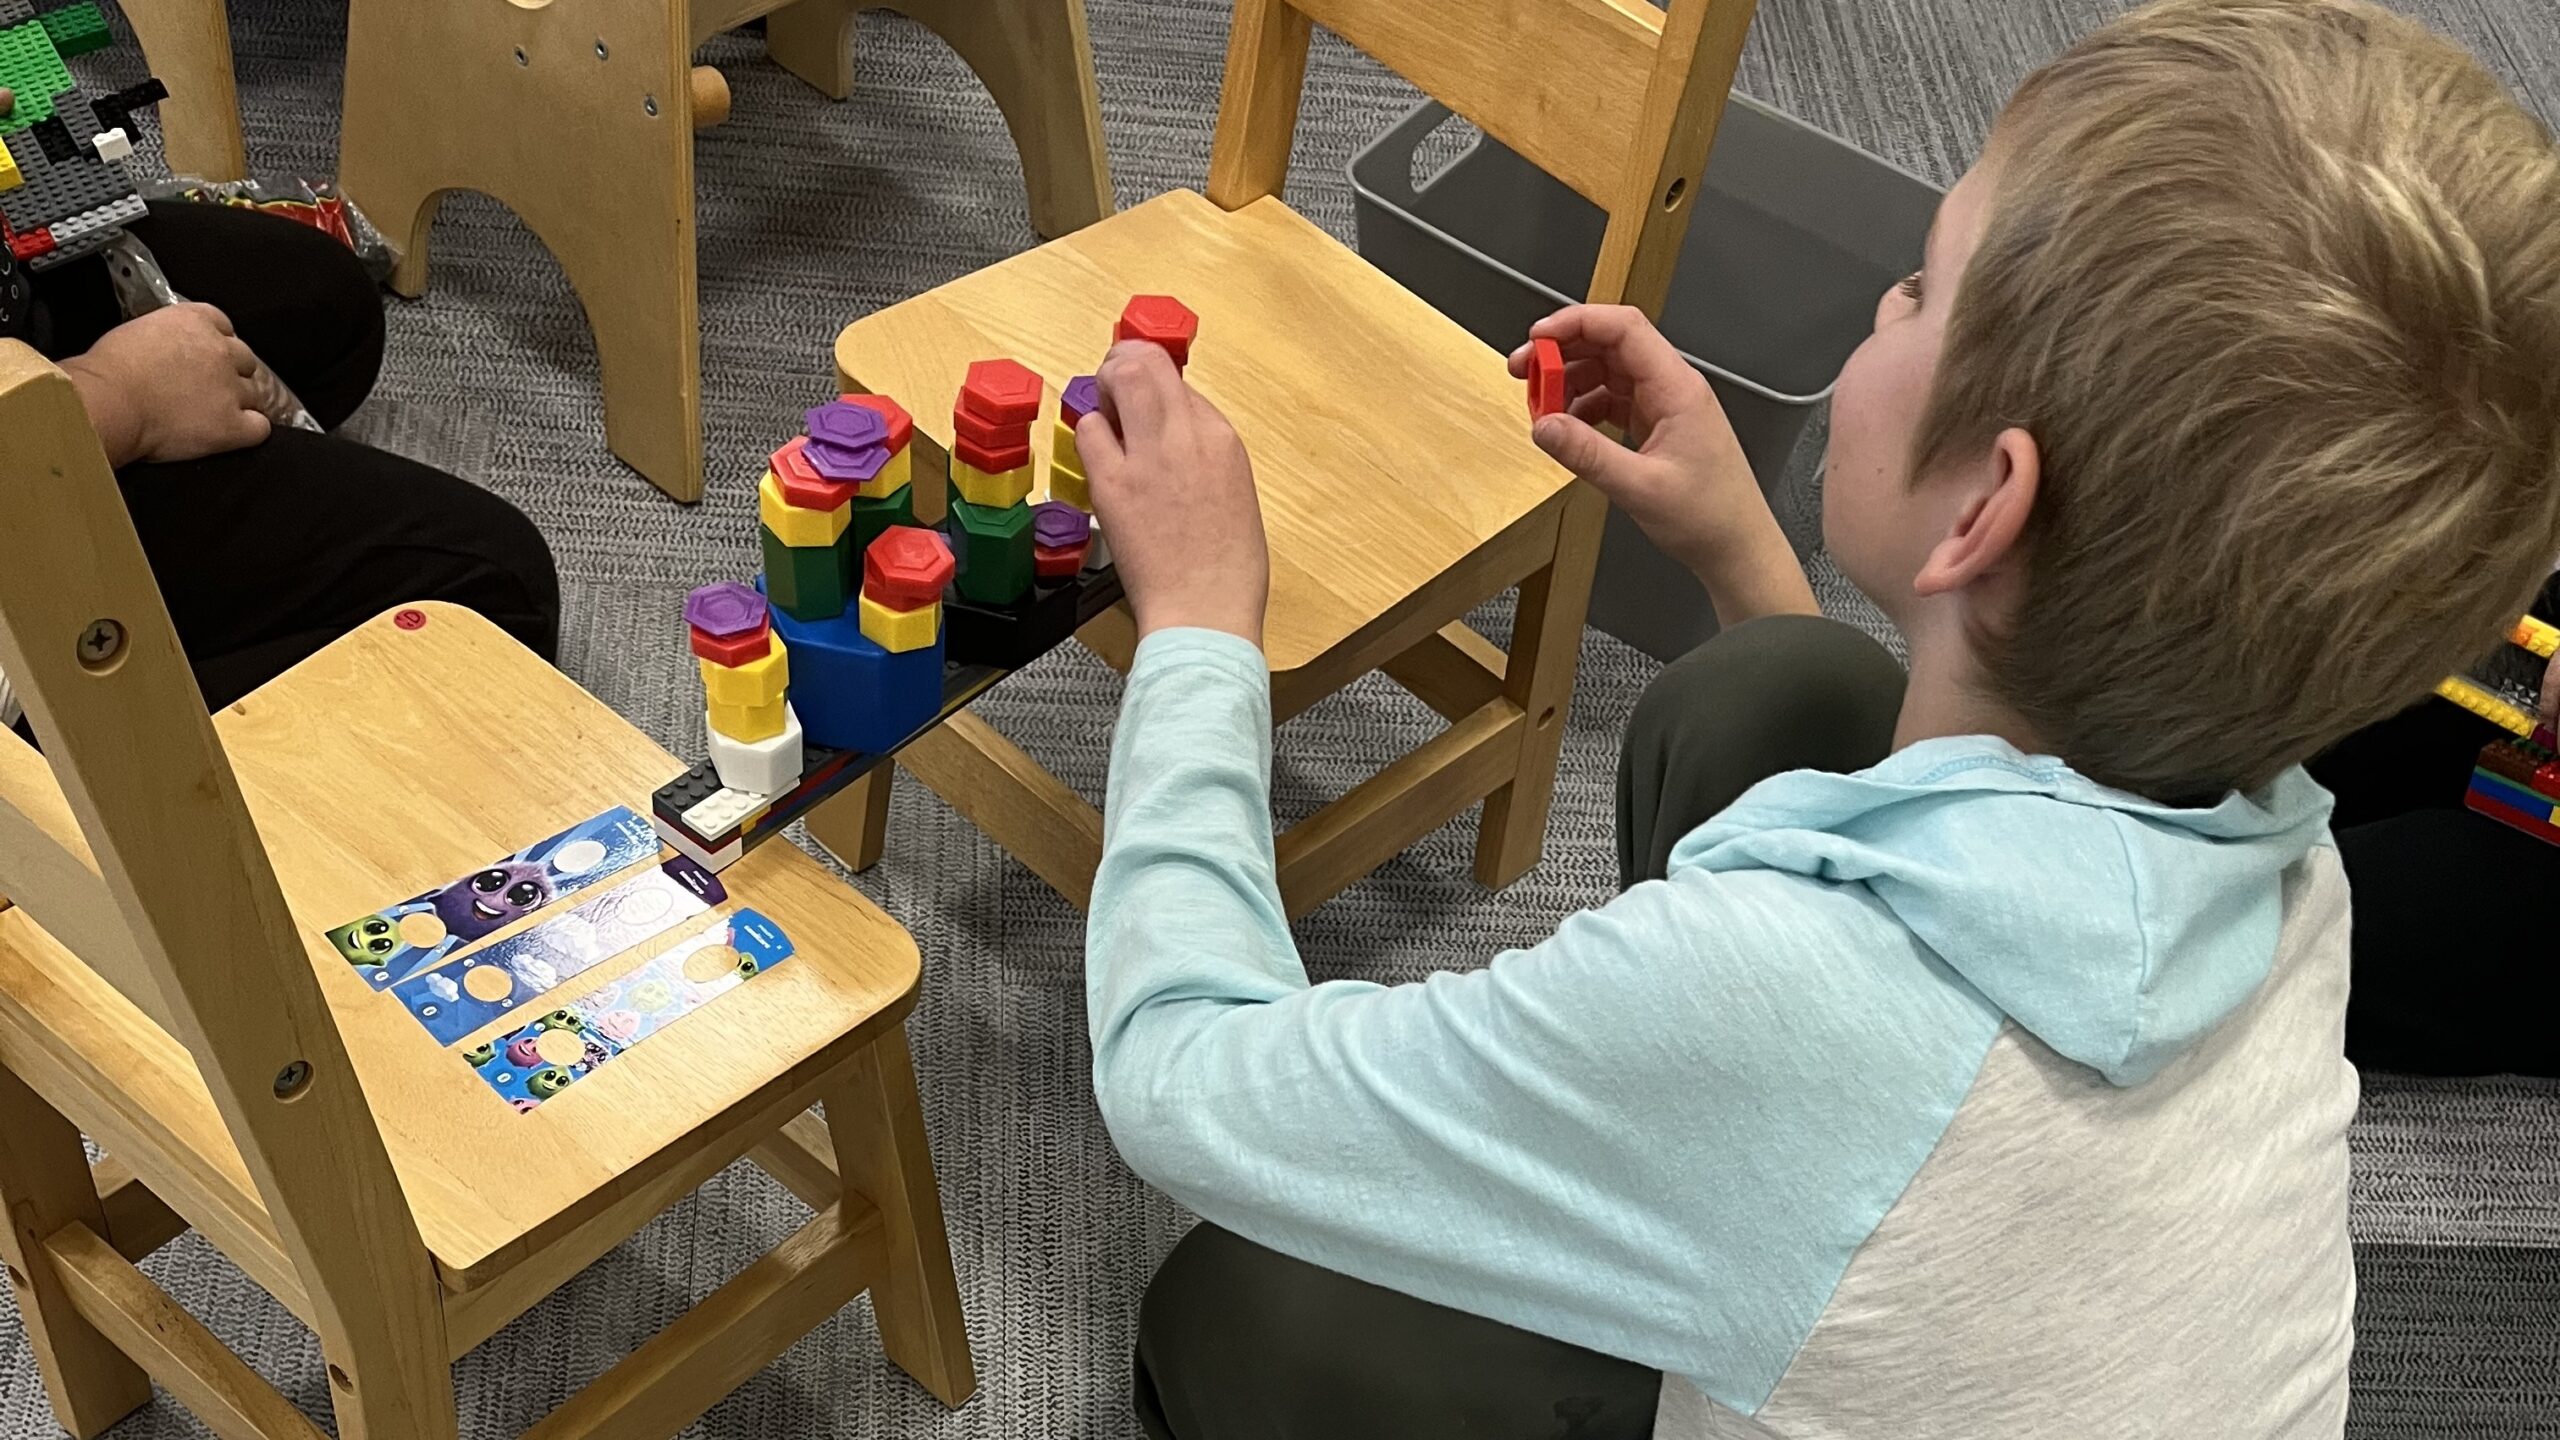
During our workshop, we tested bridges using both classroom weight sets and 1-pound bags of rice and beans. While both worked well, the colorful classroom weights quickly became the favorite. They stacked neatly, stayed balanced on the bridge deck, and created plenty of excitement as builders added “just one more weight.”
For the best experience, plan to have at least 12 pounds of testing weight available. This provides enough mass to meaningfully compare most bridge designs while still keeping the activity safe and manageable.
What we used in our workshop:
- Learning Resources Metric Weight Set
- Learning Resources Customary SAFE-T Weight Set
- 1-Pound Bags of Rice and Beans
Other safe testing materials include:
- Canned food
- Large metal washers or hex nuts placed on a small tray
- Small neoprene dumbbells or sand-filled kettlebells with flat, stable bases
Keep in mind that the objective is to compare bridge designs—not necessarily to make every bridge collapse. Many well-designed LEGO bridges are surprisingly strong, so don’t worry if you run out of testing weights before reaching structural failure. That result simply demonstrates an effective design.
Safety Considerations
As bridges begin to fail, LEGO bricks can separate suddenly and pieces may scatter. Encourage children to keep their faces away from the bridge during testing and avoid placing their hands beneath a loaded bridge. Safety glasses are a good precaution, particularly when testing longer spans with heavier loads.
Challenge Levels
One of the easiest ways to increase the difficulty of this activity is by changing the distance between the bridge supports.
As the span grows longer, the center of the bridge has less support and becomes more likely to bend or sag under load. Even small design weaknesses become easier to identify, encouraging children to analyze their results, strengthen weak areas, and improve their next design.
Rather than simply adding more weight, increasing the span creates a more meaningful engineering challenge because it rewards thoughtful construction and smart design decisions.
The three challenge levels below are designed to match different ages, experience levels, and available time. They are not intended to be completed in order—choose the level that best fits your builders and learning goals.
Younger children may begin with the 8-inch span to experience early success, while older or more experienced builders can start with the 12-inch or 16-inch challenge. Successfully completing a longer span naturally demonstrates the skills required for the shorter challenges.
If time allows, builders can work through multiple levels to see how increasing the span changes the engineering problem and requires new design solutions. For mixed-age groups, assign each child the challenge level that best matches their age and experience so everyone can participate while working toward an appropriately challenging goal.
Level 1: Simple Span (Suggested for Ages 3-5)— 8-Inch Gap
The Span: An 8-inch bridge designed to introduce young builders to the engineering design process.
The Challenge: Build a bridge that safely spans the gap and creates a roadway wide enough for a toy car or truck.
How to Test: Drive a toy vehicle across the bridge. To increase the challenge, place small weights or heavy objects in the vehicle before crossing.
Learning Focus: Encourage children to observe whether the bridge stays stable, bends, or collapses. The goal is to help young builders experience the engineering process through testing and observation.
Level 2: The Distance Stretch (Suggested for Ages 6-9)— 12-Inch Gap
The Span: A 12-inch bridge that requires stronger construction and better reinforcement.
The Challenge: Build a bridge that spans the gap, supports a toy vehicle, and carries additional weight placed at the center of the bridge deck.
How to Test: After driving a vehicle across successfully, gradually add testing weights to the center of the bridge until the bridge fails or you run out of available weights.
Learning Focus: Children begin to recognize how increasing the span places greater stress on the structure and why thoughtful design is more effective than simply adding more bricks.
Level 3: The Ultimate Efficiency Challenge (Suggested for Ages 10-13)— 16-Inch Gap
The Span: A demanding 16-inch bridge that challenges builders to maximize strength while minimizing the weight of the bridge itself.
The Challenge: Build the lightest bridge possible that can safely span the gap, support a toy vehicle, and carry the greatest amount of additional weight.
How to Test: First, weigh the completed bridge to determine its Dead Load. Then place the bridge across the supports and gradually add weight to the center of the deck until the bridge fails or all available testing weights have been used. Record the maximum Live Load the bridge supported.
Learning Focus: Older builders are introduced to structural efficiency by comparing how much weight a bridge carries relative to its own weight. This encourages thoughtful engineering rather than simply using more LEGO bricks. Use the printable data sheet to calculate each bridge’s Structural Efficiency Score.
Download the Free LEGO Bridge Design Log
To make the challenge easier to facilitate, I created a free, one-page LEGO Bridge Design Log that helps children record their test results and think like engineers.
The printable includes:
- Checklists for all three challenge levels
- Space to record bridge performance and testing results
- A Structural Efficiency Score calculator for Level 3
- Reflection questions to encourage redesign and improvement
Discover: Reflecting on the Results
The bridge itself is only half the lesson. The real learning happens during testing, observation, and redesign.
After everyone has completed the challenge, use the questions below to encourage discussion about what children observed and what they learned through the engineering design process.
- Where did the bridge begin to fail? Did it bend, twist, sag in the middle, or slide off the supports?
- Did the longer span make the test harder? What differences did you notice between the 8-inch, 12-inch, and 16-inch challenges?
- Which bridge performed the best? Was it the one that held the most weight, or the one that carried the greatest load relative to its own weight?
- How much total weight did your bridge hold? What was your final mass-to-load ratio before structural failure?
- What design decisions contributed to success? Which building techniques appeared to strengthen the bridge?
- If the builders had one more opportunity to redesign their bridge, what changes would they make before testing again?
Every successful design is built through testing, evaluation, and continuous improvement.
Continue Building
Ready for another challenge?
- LEGO Balloon Car Challenge— Explore motion, forces, and friction
- LEGO Zip Line Challenge— Discover how gravity and design affect movement
- LEGO Apartment Build Challenge— Learn about architecture, planning, and structural design.
Build a Real-World Bridge Model
After completing the LEGO Bridge Challenge, children can continue exploring how engineers design and build famous structures around the world.
- LEGO Architecture London Skyline (21034): Includes the iconic Tower Bridge and provides a fun introduction to architecture, civil engineering, and scale models.
- LEGO Architecture Tower Bridge (21067): A detailed display model featuring a working bascule (drawbridge), suspension elements, and impressive structural details. It’s an excellent co-building project for older children and adults.
Whether children build another bridge, tackle a new engineering challenge, or dive into a great book, every project is another opportunity to Read. Build. Discover.