Disclosure: This guide includes recommended books, LEGO sets, and learning resources. Some links may become affiliate links in the future. If you buy through those links, Read Build Discover may earn a small commission at no extra cost to you. Recommendations are chosen for their learning value and connection to the activity.
Quick Facts
- Best for: Elementary builders
- Time: 45-90 minutes
- Skills: Physics, rapid prototyping, structural design
- Core idea: Balancing aerodynamic forces creates a smooth flight
What happens when you combine aviation science, gravity-driven racing, and a room full of eager young builders? You get an adrenaline-filled, side-by-side Lego zipline challenge and an unforgettable afternoon of hands-on physical science. This lab session challenged kids on three levels: studying aviation forces, troubleshooting engineering constraints, and bouncing back from high-impact crash landings.
Read: Books and Media that Support the Build
Before entering the lab, connect the activity to books and media that explain how things move through the air. The kids used these resources during their pre-study to understand the forces of flight.
- Book: How People Learned to Fly by Fran Hodgkins: A straightforward, simple overview of aviation history exploring how early inventors experiment with flight. It is highly engaging and perfect for early elementary aged kids.
- Book: Flight (DK Eyewitness Books) by Andrew Nahum: This deep dive is packed with aviation details tracking history’s finest flying contraptions—from gliders and blimps to hot air balloons. We especially loved the section that explained how planes are controlled and flown!
- Video: How Do Airplanes Fly? (Ask the StoryBots, Season 1, Episode 2): A high-energy overview of the four forces of flight. It breaks down heavy science concepts using catchy songs and animations.
- Video: How Does An Airplane Fly? Evolution of Planes (The Dr. Binocs Show by Peekaboo Kidz): Dr. Binocs consistently delivers engaging videos on difficult STEM topics. This is a more in-depth animated explanation. It teaches children how plane construction handles natural forces.
- Video: Aerodynamics Explained by a World Record Paper Airplane Designer (Level Up by WIRED): A fantastic video that explains the principles of lift, drag, and airflow through folding paper airplanes. Have plenty of paper ready!
Build: The Zipline Lab Challenge
We kicked off our session with a discussion on flight, mapping the children’s prior knowledge onto the four forces of flight. From there, we related each aerodynamic concept directly to our zipline challenge.
- Gravity vs. Weight: Gravity serves as our zipline “engine.” Kids discussed whether adding heavier bricks would increase their velocity down the track.
- Thrust vs. Slope: Planes rely on engines for thrust. For our lab, “thurst” was determined by how steeply we angled the line.
- Drag vs. Friction: Air resistance causes drag on a plane. On the zipline, friction against the line acts as the drag. We talked about the importance of the connection point between their build and the line.
- Lift vs. Stability: The rope holds the build up, standing in for aerodynamic lift. A core challenge is balance: if a build is too top-heavy, the flight stalls. Finding the center of mass ensures that it stays upright.
Friction & Attachment: The Baseline Suggestion
To give the kids a technical jumping-off point, I demonstrated a basic anchor: one long flat brick attached to two smaller bricks. This created an open horizontal tunnel for the line to pass through.
This example solved a critical logistics issue: our zipline was already tied down between two secure points. We wouldn’t be able to unthread the line to slide creations on from the ends. Pointing this out was crucial for keeping the lab running smoothly. If a child used an enclosed piece—like a solid window frame—there would be no way to open it up to place it on the rope!
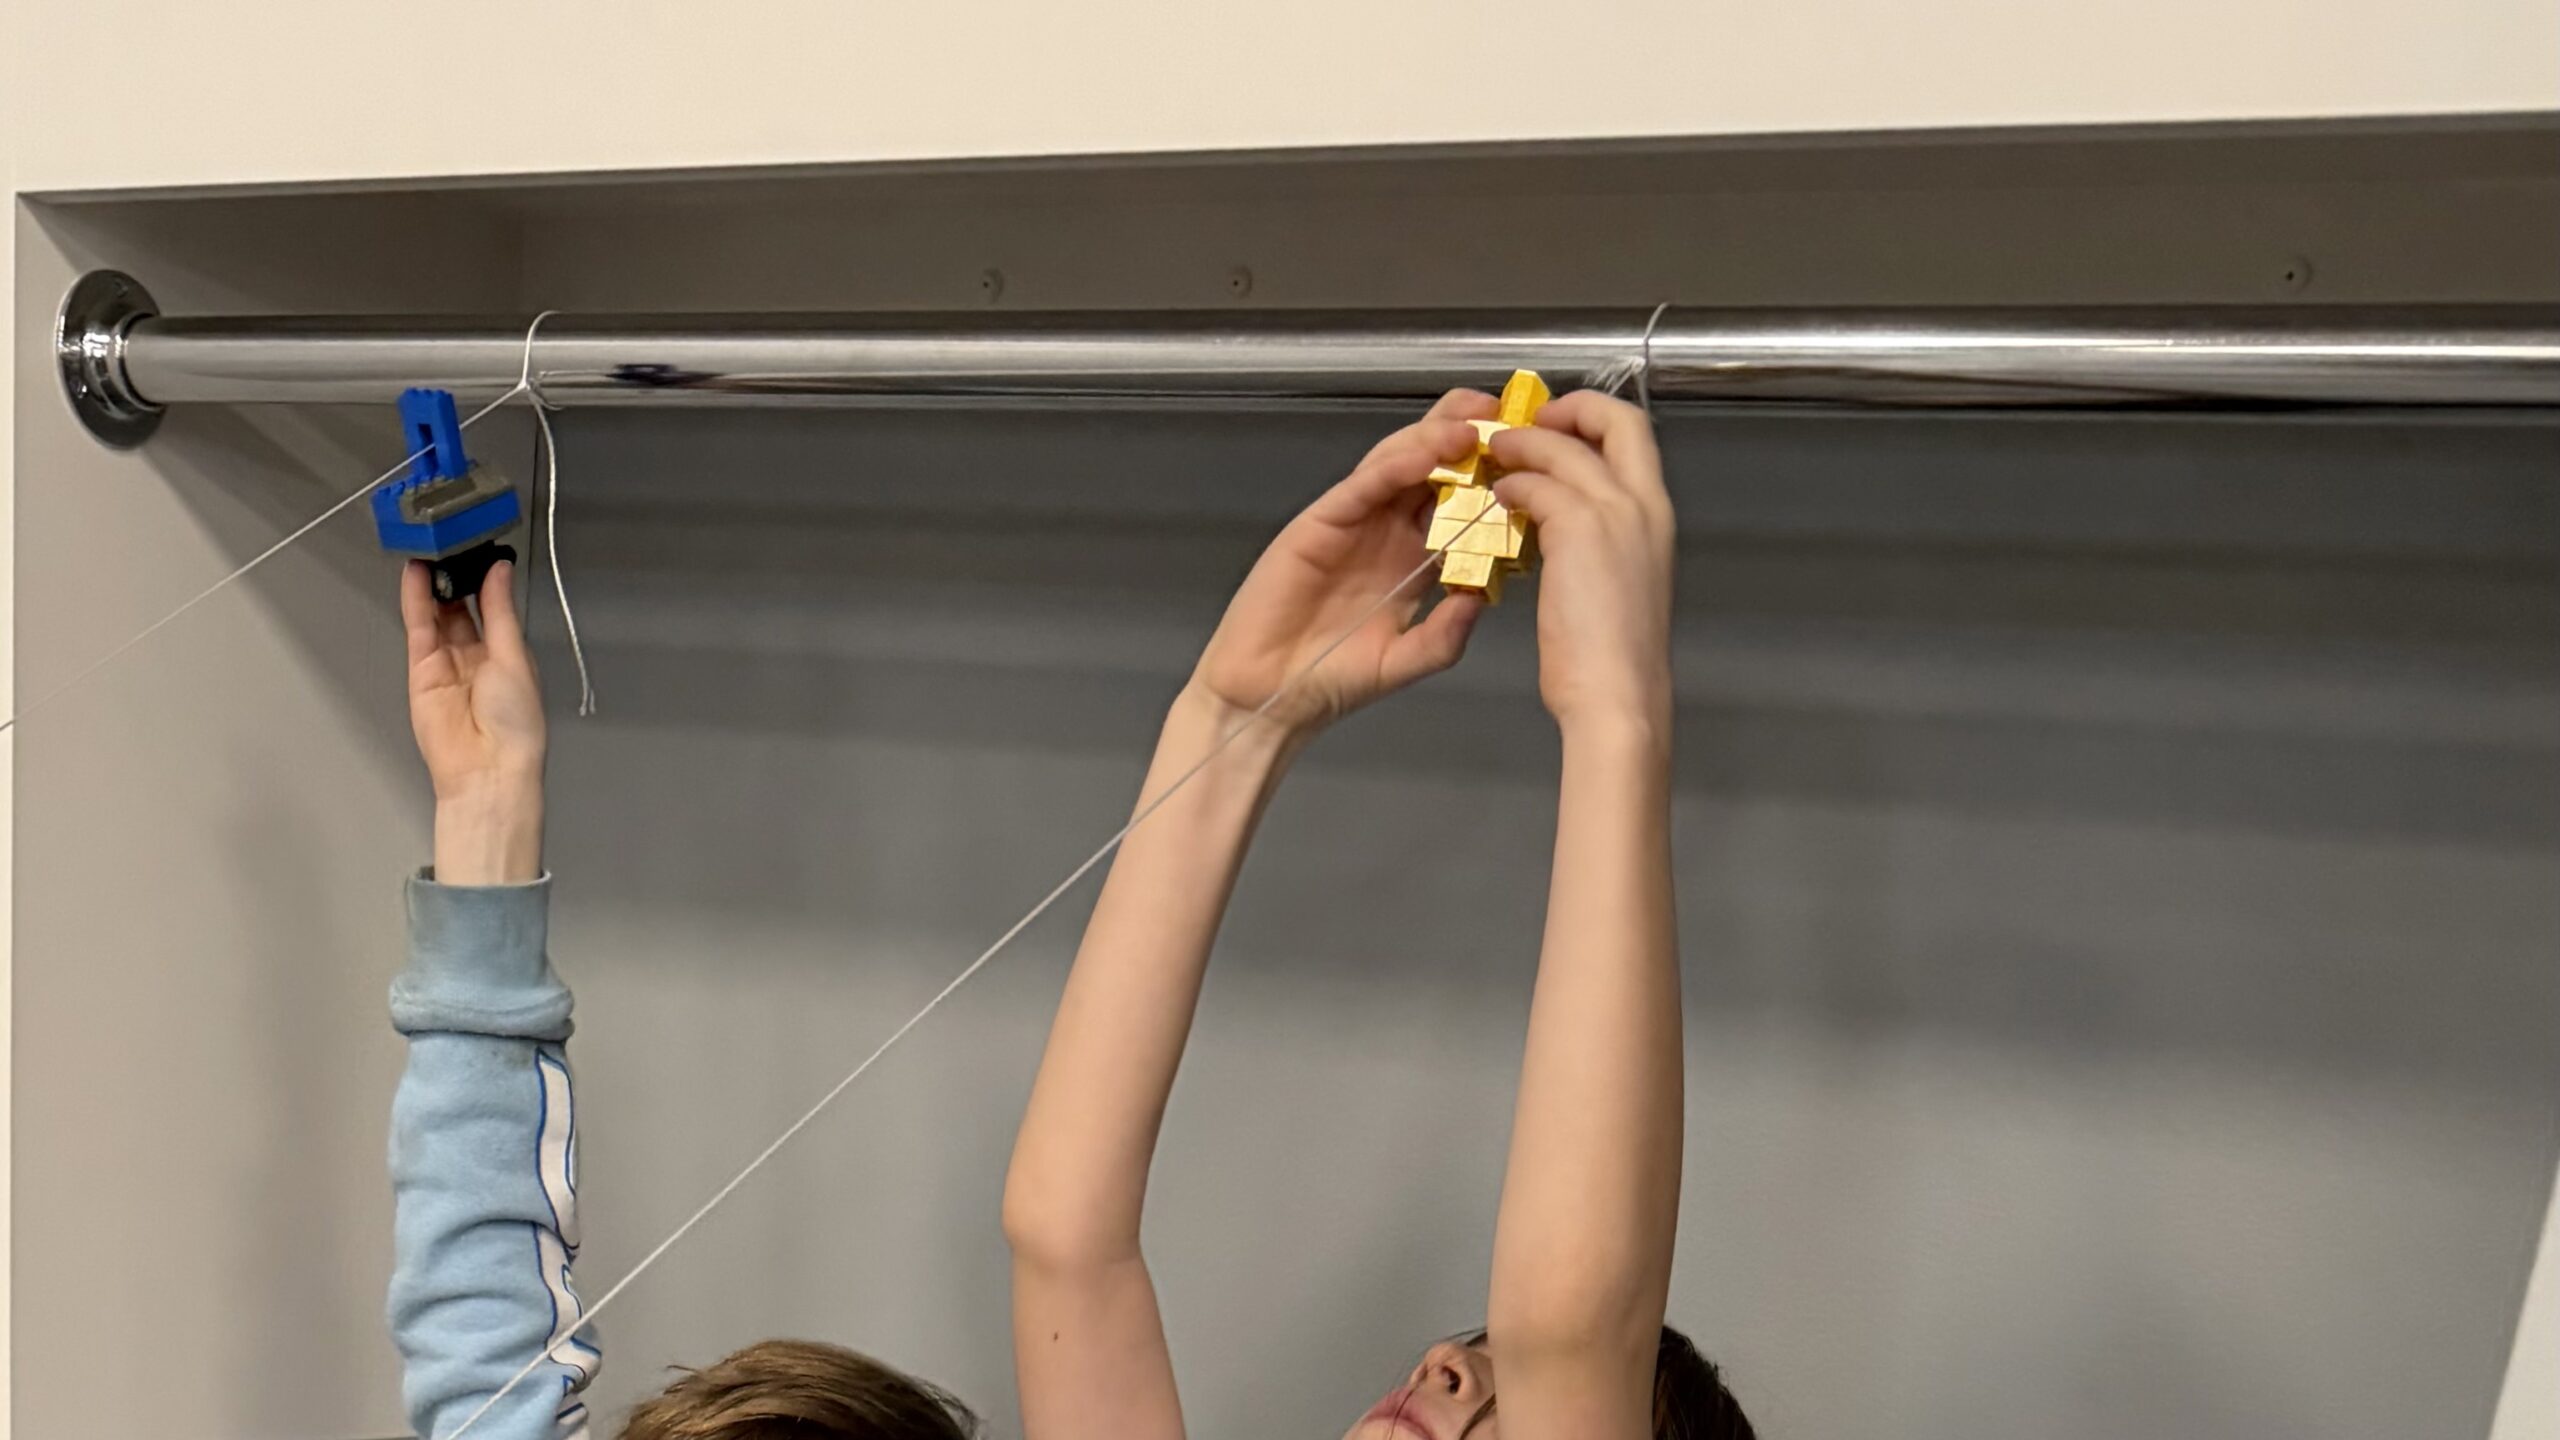
Racing Tracks & Variable Slopes: Testing the Physics
To kick the excitement up a notch, we didn’t just build one track—we set up two nylon ropes side-by-side so the kids could race their creations. The kids loved the competitive racing, and it naturally pushed them to keep modifying their builds.
To offer an even bigger engineering challenge, we varied the tracks:
- The High-Thrust Track: One set of strings was noticeably steeper, simulating the high engine thurst.
- The Gradual Track: The second set was flatter, requiring the kids to optimize for weight distribution and minimal friction.
To anchor our finish line, we attached the bottom of the zipline to a pair of regular chairs. The racing pulled so hard on the lines that parent volunteers had to sit in the chairs to keep them taut. Their job was crucial: staying put to anchor the lines and keep everything stable for the flights.
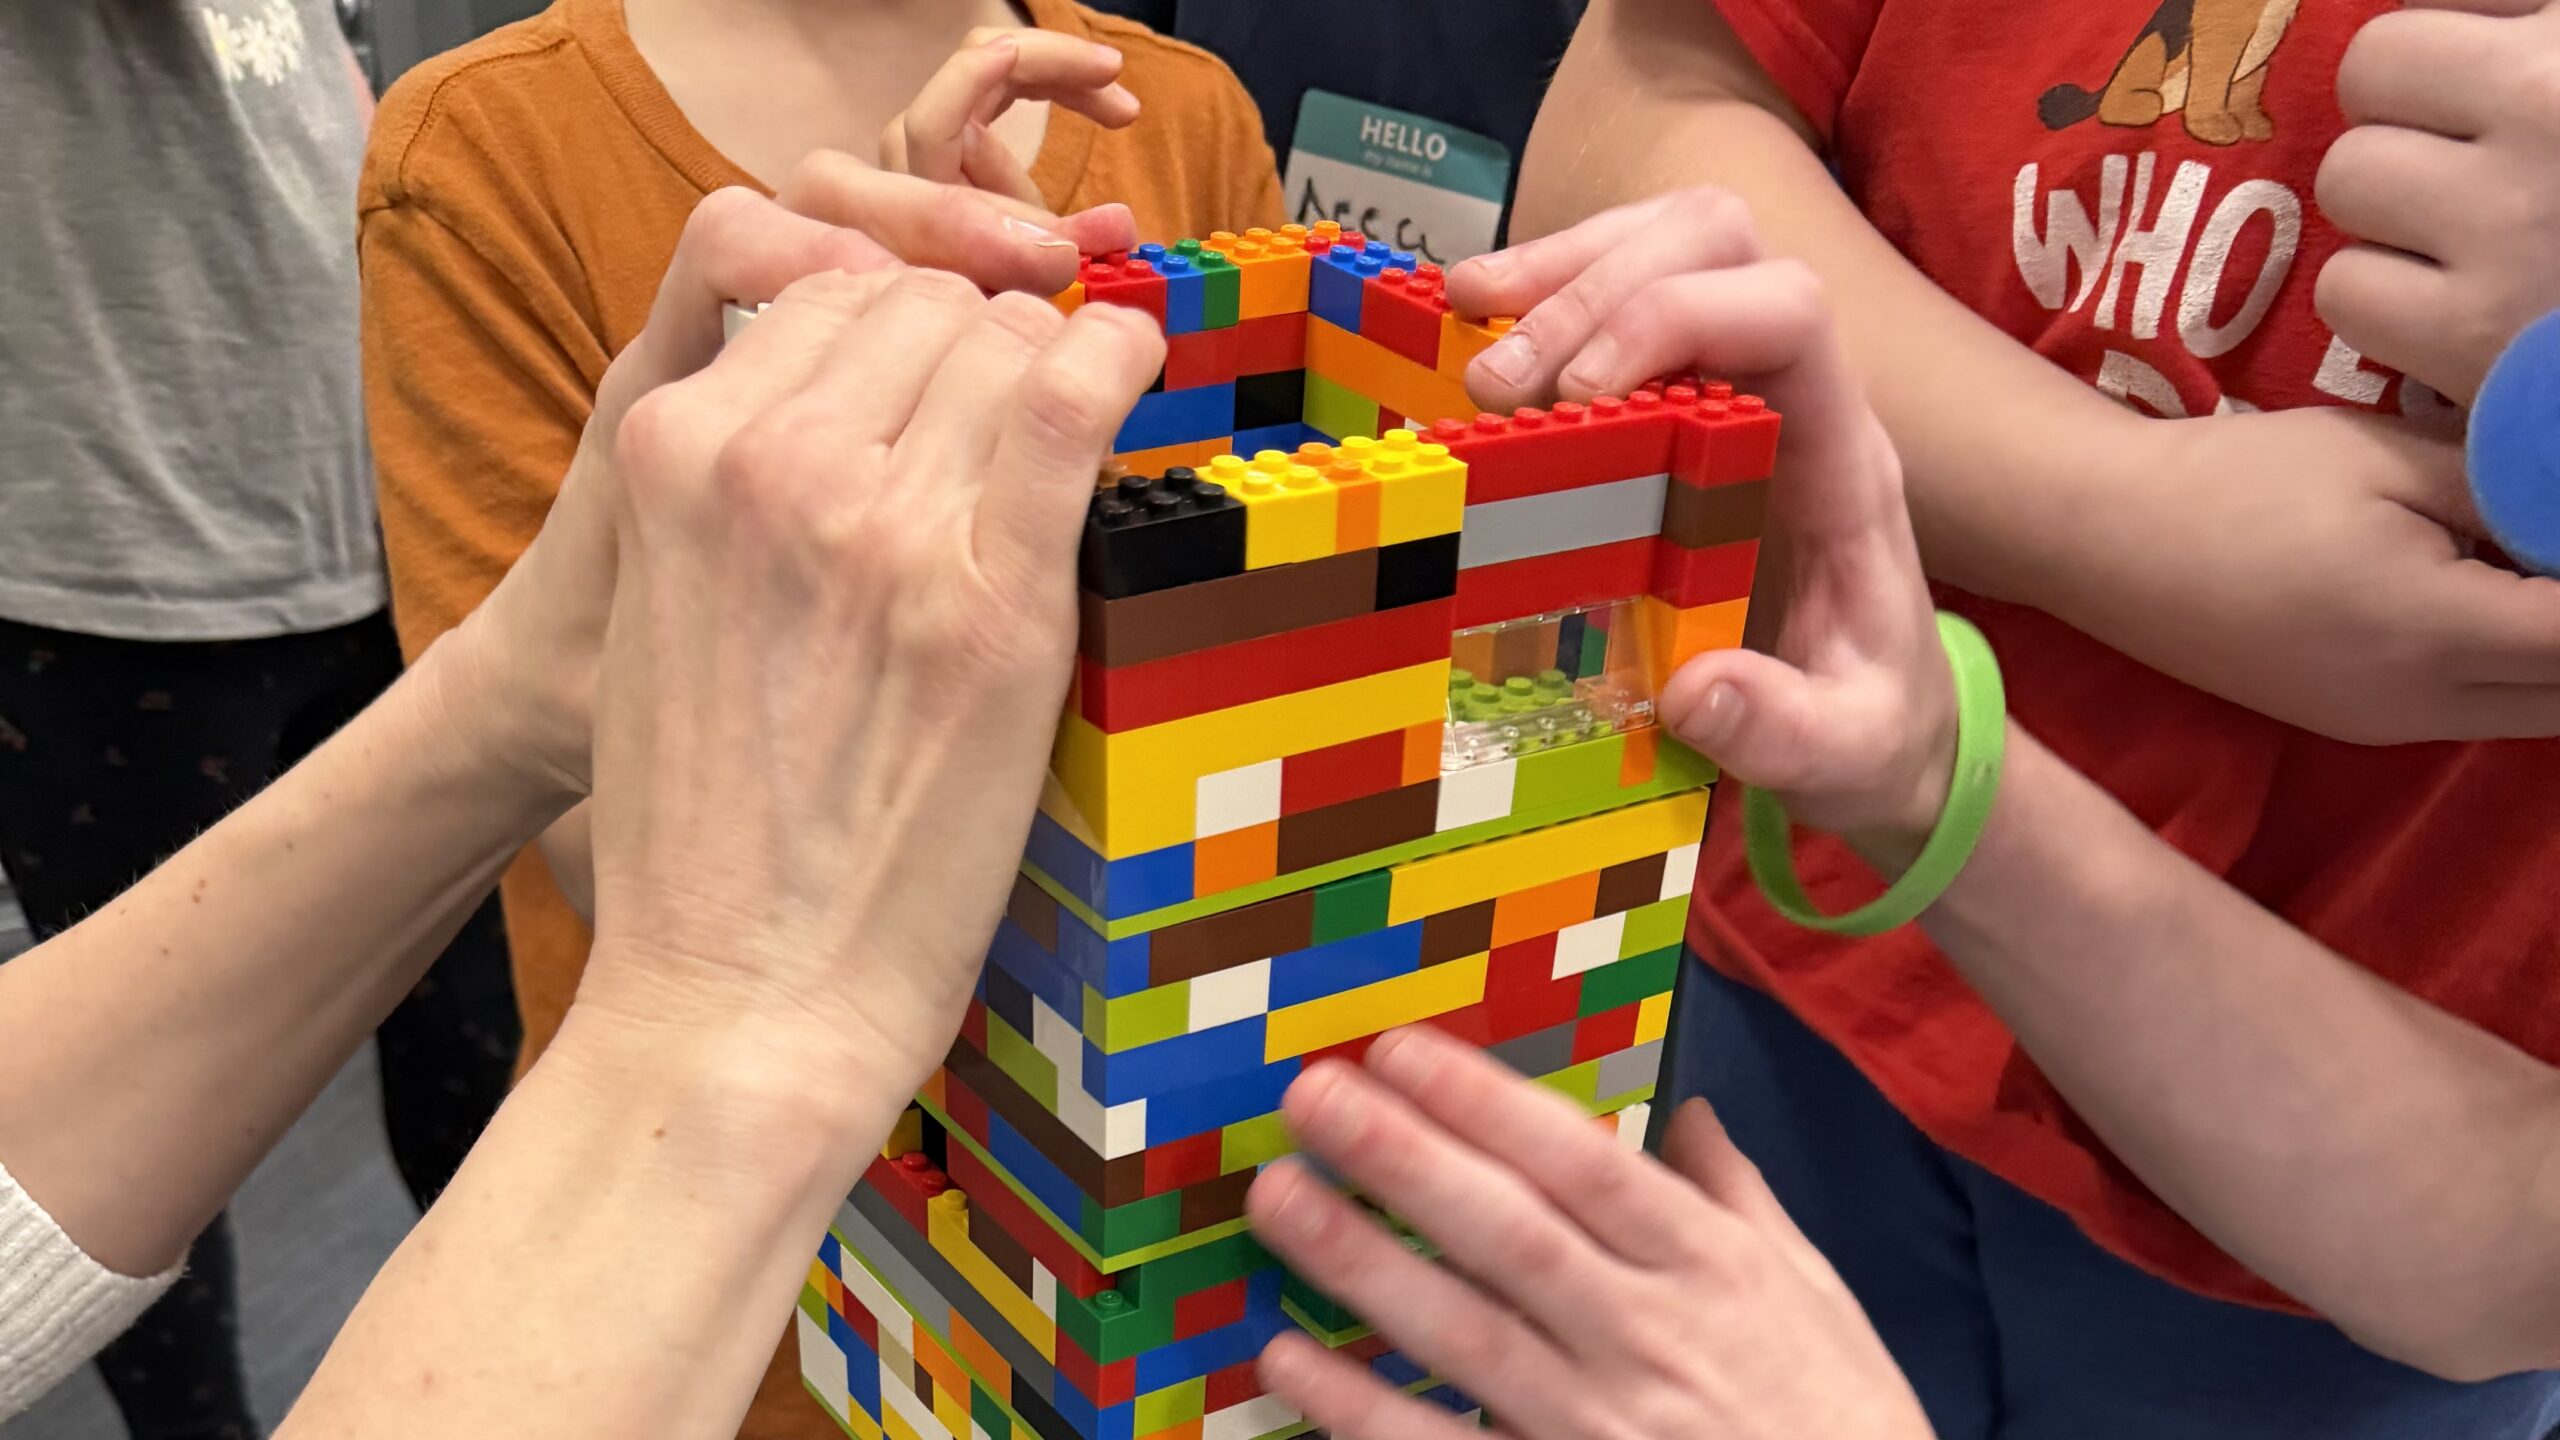
Spotlight on Success: The Vintage Sandwich Build
While every student engineered brilliant variations, our most consistently successful flyer relied on a simple, clever design. He used rare, retired components: Vintage Lego 10×20 Thick Green Brick Plates (part #700eD2).
The student took two of these thick green plates and simply slapped one directly on top of the other, sandwiching the nylon rope right through the middle gap of the plates.
This worked so incredibly well! This design completely eliminated wobbling and the weight of the vintage plates provided plenty of mass to glide down the line every time without catching.
Discussion: Questions to Ask After the Build
- Look at the fastest racer today. What shapes or design choices helped it cut through the air and reduce drag?
- Did adding more weight (more LEGO bricks) make your racer go faster or slower? Why do you think that happened?
- Where did you place the heaviest bricks? How did changing the center of gravity keep your racer from flipping over on the line?
- What did a failed test flight teach you that actually helped improve your final design?
Navigating the Crash Zones: A Lesson in Resilence
One unexpected hurdle involved our aesthetic builders. A few kids focused their energy on building detailed, intricate, and beautiful flying machines.
Unfortunately, gravity accelerates these builds so quickly that a few finishes resulted in spectacular crashes that shattered their artwork.
Seeing their hard work break apart brought some real disappointment. Looking back, we could have protected the landing zone with something soft, like a piece of foam. I also wish I had emphasized the physical structural requirements right from the start to save them that heartbreak!
Continue the Learning at Home
If your builder wants to keep exploring aeronautics, these official LEGO sets can extend the same ideas at home:
- LEGO Creator Aircraft Race Plane (31160): A great set for ages 7+ that lets kids choose between building a classic propeller aircraft, a supersonic jet plane, or a high-speed helicopter.
- LEGO® Technic™ Bush Plane (42198): An engaging engineering build for ages 8+ that sports a wildlife conservation-themed zebra print design. It lets kids study mechanical movements by operating a manual lever to spin the front propeller, moving the adjustable wing ailerons, and opening the engine cover to observe the moving pistons.
- LEGO® Icons Leonardo da Vinci’s Flying Machine (10363):While technically a display set for adults (ages 18+), it could be completed alongside a child. It replicates the master inventor’s original historical ornithopter sketch. The set lets builders explore classic kinematics using a functional mechanism of strings, pulleys, and hinges that manually flap the textile-covered wings.
These are optional extension ideas, not required materials. The core lesson still works with whatever bricks and plates you already have.